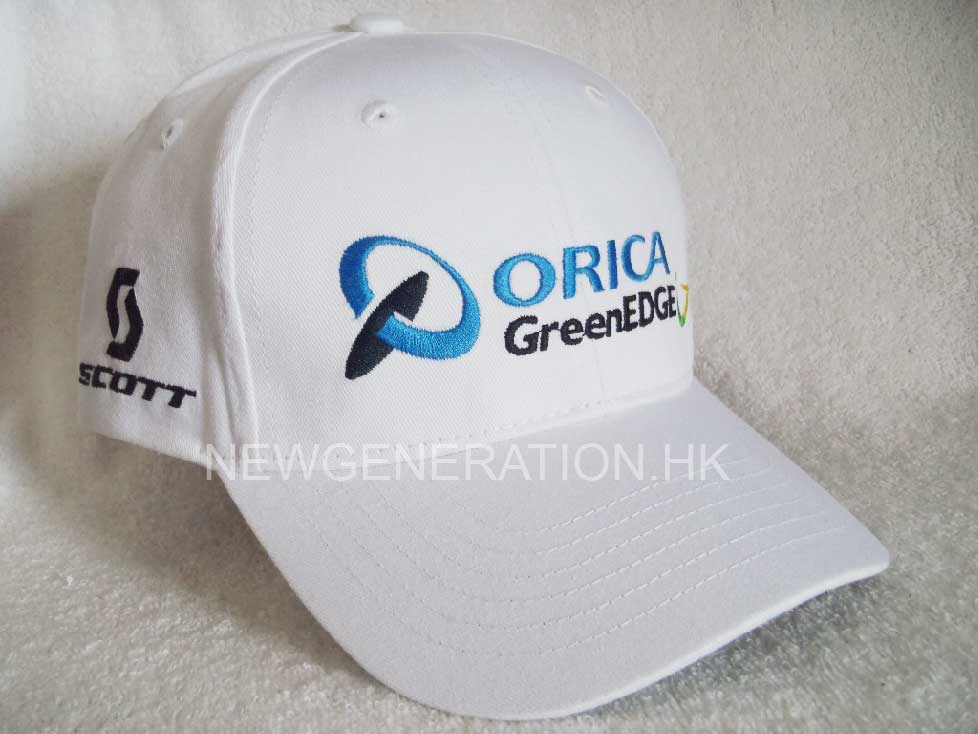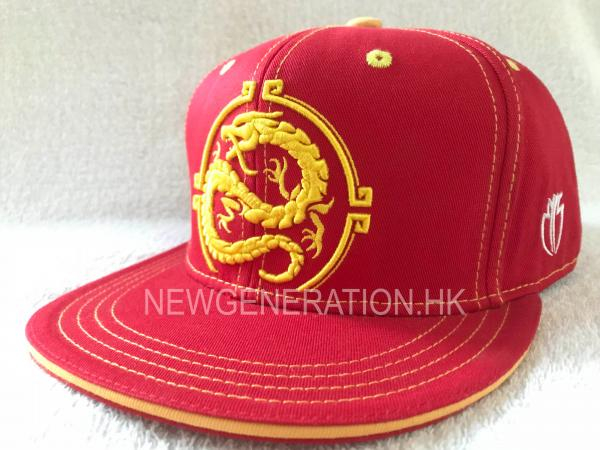


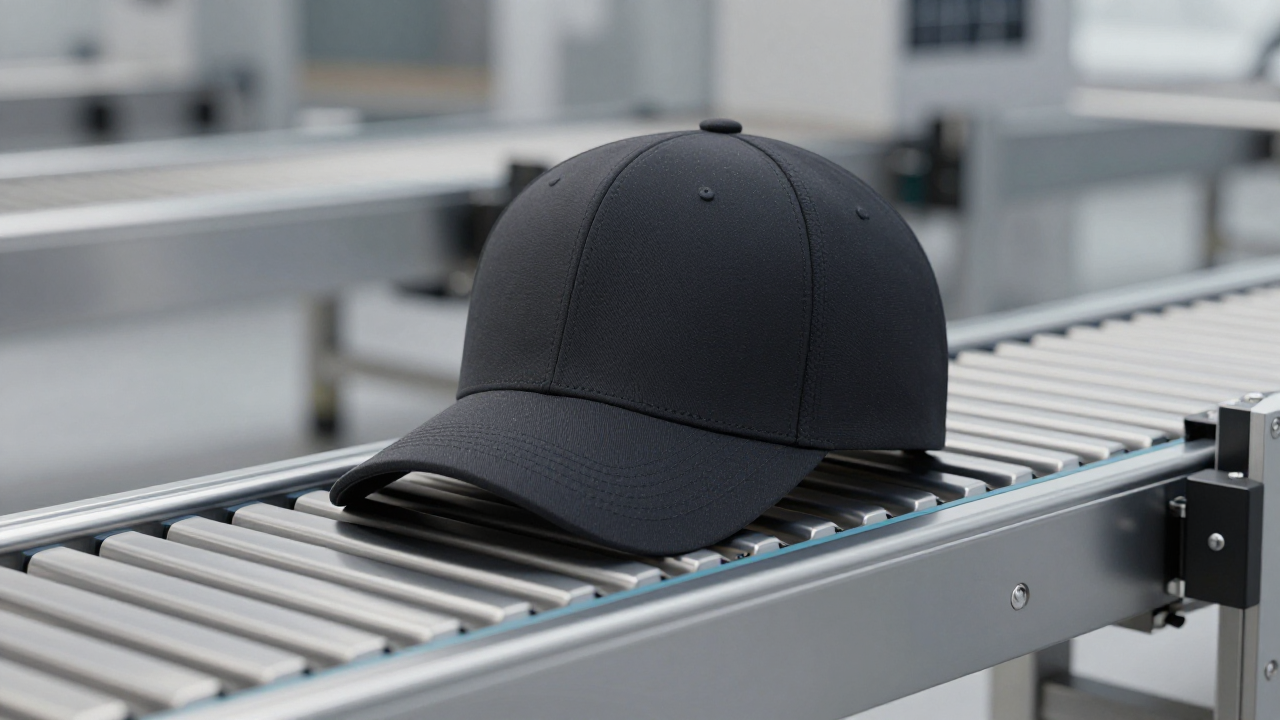
Stand at the end of a sewing line for ten minutes and the whole business is visible.…
Panels arrive in bundles, two operators run curve seams on lockstitch machines with a folder, a third closes the crown, a fourth sets eyelets and the button, and the brim goes on last. Nothing about that looks complicated. The complexity lives in the geometry.
What Actually Happens Inside a Cap Factory?
> Definition: A cap factory turns flat woven fabric into a curved shell by cutting wedge-shaped panels, joining them along five or six curved seams, stiffening the crown with buckram, and locking the geometry with a brim and sweatband. Every defect downstream traces back to one constraint — flat cloth resists becoming a hemisphere.A baseball cap is a surface of double curvature. You cannot wrap flat fabric around it without stretching the cloth or engineering seams that absorb the curve. A six-panel crown is the cheapest industrial answer — six tapered gores approximating a hemisphere with straight-ish seams. A five-panel camper trades symmetry for a wider front embroidery field. Those two layouts cover most of the category, and the choice between them is usually made by the decoration budget, not by fit.
Each seam is a stress riser. That's the part buyers miss. Every place two panels meet is a line where the fabric has no give, so wear pressure concentrates at the seam tape and the crown point. A cap that feels cheap almost always has a seam problem underneath it, whatever the fabric tag says.
Why Do the Numbers on a Cap Spec Sheet Matter So Much?
Every tolerance in a cap spec exists because of a measurable failure mode, and the values cluster tightly for reasons you can calculate. Move the seam allowance from 3/8 inch to 1/4 inch and you don't save money; you buy puckering.
Here's the arithmetic that sets panel width:
Panel width = (Head circumference − Ease) / Panels + 2 × Seam allowanceTake a 22.5-inch head, 0.75 inch of negative ease (the cap must sit smaller than the skull, because twill gives), six panels, 3/8-inch allowance: (22.5 − 0.75) / 6 + 0.75 = 4.375 inches at the base. That's the number the cutter's marker has to respect, and the number a cap factory will hold you to on a reorder.
Ease is the variable that gets abused. Push past 1 inch and the cap grips, the brim lifts off the forehead, and returns climb. Drop below 0.5 inch and it slides down over the ears after twenty minutes. Most US headwear programs land between 0.625 and 0.875 inch.
Seam allowance has hard boundaries at both ends. Below 1/4 inch, a three-thread overlock has no material left to grab after trimming, and the seam opens in the wash. Above 1/2 inch, six panels converge at the crown point with so much stacked fabric that the button can't cover it and the topstitching walks off line. 3/8 inch survives both failure modes, which is why it's the industrial default rather than a stylistic choice.
Shrinkage is the second formula worth memorizing:
Cut length = Target finished length / (1 − Shrinkage %)A 10 oz cotton twill testing at 3.5% shrinkage needs a 23.8-inch cut to finish at 22.97. Skip that step and your 22.5-inch band lands at 21.7 after one wash — exactly how a snapback ends up two snaps short.
What Does the Cutting Room Get Wrong That Nobody Talks About?
The detail that never appears in a textbook: grain direction drifts when a marker is nested to chase fabric savings, and nobody notices until a wash test.
Woven twill has a stable direction — the warp — and a stretchy one on the diagonal. Cap panels must be cut on the straight grain, all six of them facing the same way. A cutter under cost pressure will rotate a panel 10 or 15 degrees on the marker to fit one more unit per lay. It saves roughly 4% of fabric. The panel still looks fine flat. It sews without complaint. The cap even passes visual QC.
Then it gets worn.
In September 2022 we shipped 9,600 caps to a collegiate licensee in Columbus, Ohio. Two weeks later the returns started, and the complaint was always the same sentence: the plastic snap wouldn't close on the last two positions after one cold wash and air dry. We pulled twelve units back and cut the sweatbands open. Five of the twelve had been cut off-grain. The bias stretch let the band grow about 0.4 inch under wear while the crown, cut correctly, held its length. The two fought each other and the snap lost.
Nobody in that plant had violated the paperwork. The marker was approved. The fabric met spec. The failure lived in a decision made 6,000 miles upstream by someone trying to hit a yield target.
Our fix cost almost nothing: grain direction is now printed on the marker itself, and we audit one panel per lay with a thread pull. A 6-inch thread pulled from a panel should snap within 2% of the same pull taken from the roll end. If it doesn't, the lay stops.
A side note for anyone running 3D puff — the same bias problem reappears as needle deflection. A foam logo straddling the center seam needs that seam tapped flat before hooping, or the needle walks and you get thread breaks. Programs run on 6- to 12-head Barudan or Tajima machines will break at a fairly consistent rate when this is wrong, roughly one break per 800 caps, which reads as "random" until you map it to the panel.
Which Reference Values Should You Actually Put in Your Spec?
Use this table as a starting point. The third column is the part worth arguing about with your supplier.
Stitch count estimation, if you want to sanity-check a quote before you sign it:
Stitches ≈ (Logo height in mm / Row spacing in mm) × (Logo width in mm / Stitch length in mm)A 63.5 mm × 38 mm filled logo at 0.4 mm spacing and 3 mm stitch length lands near 2,000 stitches per pass. A real fill with underlay and outline typically runs 3.5 to 4 times that. If a supplier quotes 4,000 stitches for that artwork, they're quoting an outline, not a fill — and you'll see the twill grain through the design on arrival.
One cost note while we're here. Fabric is roughly 28–34% of landed cost on a mid-weight twill cap, so a single point of mill price movement passes through at about 0.3 points on your FOB. That's the mechanism behind the headline factory-gate inflation numbers coming out of China this year. It reaches your quote slowly and unevenly, and it almost never reverses.
How Do You Get Found When Buyers Search for a Cap Factory?
Buyers rarely search the generic term — they search their spec. The queries that convert are long and boring: "six panel cap manufacturer 144 moq," "3d puff embroidery factory lead time," "custom camper hat supplier cotton twill."
That has a practical consequence for a headwear manufacturer. Publishing a tolerance sheet, a stitch-count guide, or a shrinkage test method does more for inbound quality than any keyword campaign, because procurement teams and AI search engines both pull from documents that state numbers. We posted our shrinkage protocol and marker rules on a public page in early 2023. The RFQs that followed arrived with fabric weight and stitch counts already in the first email. Fewer quotes, better ones.
What Do Experienced Buyers Get Wrong?
Three mistakes show up in roughly every other sourcing cycle.
The first is approving a lab dip from a phone photo. Cotton twill under a ring light and cotton twill under warehouse fluorescents are different colors. Ask for a physical dip against a Pantone TCX reference and check it outdoors at noon.
The second is assuming "100% cotton" means consistent. Two mills can both ship 10 oz twill and differ by 2 points of shrinkage depending on yarn tension at the loom. Run your own AATCC 135 three-wash test on the first bulk roll. It takes four days and prevents a month of returns.
The third is forgetting that a 3.5-inch embroidery file does not fit on a 3.75-inch front panel with 3/8-inch allowances on both sides. The logo gets clipped by the seam and you find out at the sample stage. Draft the decoration into the panel drawing before anything is cut.
I should correct something from earlier — I described the front panel as the widest, which holds for a standard six-panel. On a five-panel camper the front is a single wide panel wrapping the whole forehead, so the embroidery field is larger and the crown runs lower. If your logo is 4 inches wide, the five-panel is the layout that fits it, and that decision belongs in the design brief, not in sample review.
Frequently Asked Questions
What is the typical minimum order for a custom cap factory?
Most factories set MOQ at 144 pieces per colorway, because that fills one fabric lay and one embroidery setup. Below 100 pieces the setup cost per unit roughly doubles. Some suppliers accept 50-piece runs with a 15–25% surcharge.
How long does cap production take from order to delivery?
Production runs 25–35 days after artwork and lab dip approval, plus 30–35 days of ocean freight to a US West Coast port. Air freight cuts transit to 5–7 days at roughly four times the cost, which only pays off on launch deadlines.
Why does embroidery stitch count matter on a cap?
Stitch count drives both cost and structure. A dense fill above 15,000 stitches stiffens the front panel until it cups, while too few stitches leave the twill visible through the design. Standard front logos run 6,000–12,000 stitches at 0.35–0.45 mm row spacing.
How do you choose between screen printing and heat transfer on a cap?
Screen printing suits flat front panels and larger single-color runs; plastisol cures at 320 °F and holds through 40+ washes. Heat transfer handles gradients and short runs but softens faster on curved five-panel fronts. Neither performs well across a seam.
What causes a cap to lose its shape after washing?
Two causes dominate: under-stiffened buckram and off-grain panels. Two-ply fusible buckram holds the front through 30 washes while single ply softens in 8–10. Panels cut even 10 degrees off the straight grain stretch unevenly and pull the crown out of alignment.